I aim for two things in my editing workflow: to streamline it and to do so in style. From editing to delivering galleries, professional photographers are always on the lookout for products that will save us time and give our clients a beautiful user experience.
Enter CloudSpot, a web-based image proofing site that takes image delivery to the next level with customizations galore, a laid back design and an intuitive interface. It takes the guesswork out of how to deliver beautiful galleries so clients can download high-resolution images, order prints and share with friends and family. And it is so darn simple to use. No really! When I was asked to review CloudSpot it literally took me seconds to customize my settings and upload a new gallery. CloudSpot touts 15 seconds to do so and I think that’s pretty dang close to what it took me.


CloudSpot helps me create a great first impression.
When your clients receive their online gallery you want their hearts to jump with excitement. And that’s not going to happen if you send clunky zip files. Investing in a proofing site is a streamlined way to deliver your high-resolution images to clients with a first impression that will make them swoon.
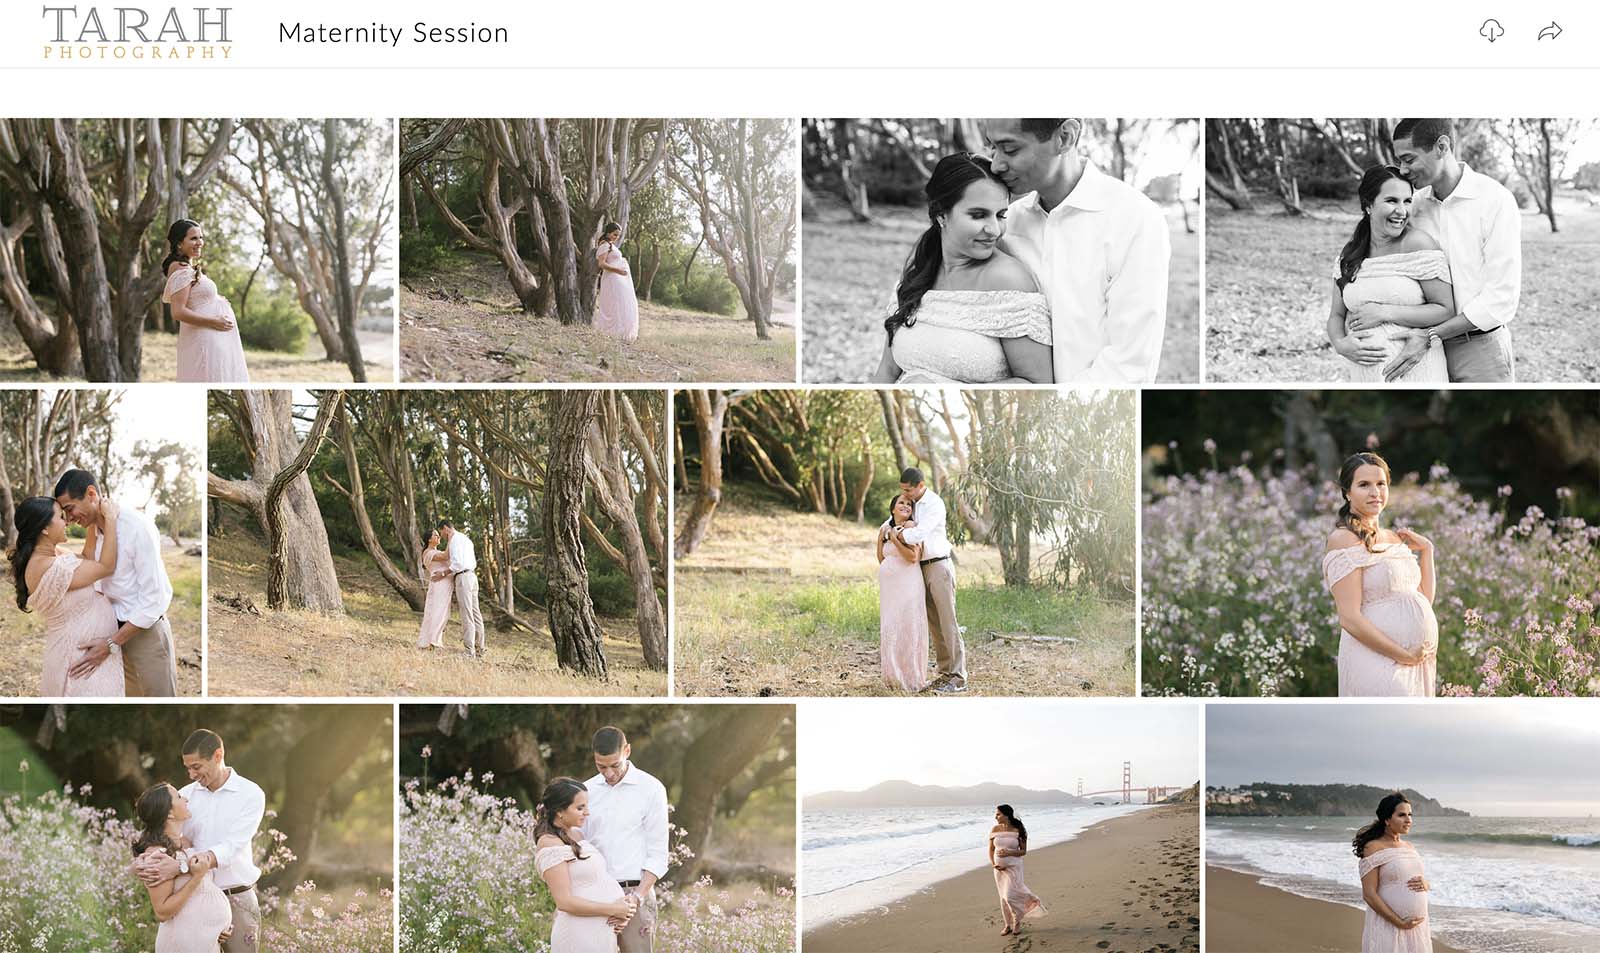
I love all the customization features CloudSpot offers. An assortment of gallery layout options gave me full control of how to display my clients’ photos. I especially loved that I had numerous customization options to format the gallery cover photo and that I could even select a GIF as the cover (what?!). Again, this is the first image and impression my clients see so I loved that CloudSpot had so many options to choose from.


Fast uploads and customization saves me time.
First impressions aren’t limited to just clients; first impressions matter to me and all the other professional photographers out there too. Which is why my first impression of CloudSpot was a jig and a shout-out. Here’s my workflow for how I create a new gallery and send it out within 15 seconds:
1. I directly upload my final client images from Lightroom using the CloudSpot plug-in. Photos are uploaded into event folders that are organized by genre tags such as maternity or newborn. When I open CloudSpot I can easily find client sessions organized by event/genre type to then make a gallery. Capiche?
2. Then I open CloudSpot and select the client folder I just uploaded. I click the gallery button to choose the display customizations. I also have the option of creating gallery presets so that I have a standard template for all my galleries to start with.
3. Lastly, I click the “Send Now” button and voilà!

CloudSpot understands a photographer’s needs.
CloudSpot was created by photographers for photographers with the goal of putting the photographer’s brand center stage, to save them time in their workflow and to quickly be able to deliver images that are beautifully displayed. After using CloudSpot for the past few months I agree that they’ve achieved this goal.
CloudSpot has a competitive sliding scale pricing model based on storage limits. They offer numerous pricing options to match a variety of needs. Additionally, they offer free gallery migration if you like to archive all your client galleries within your proofing site. But listen up photographers: They also have a free plan. Yes! I said free. Which is kinda badass so you can try it out and, heck, send a few galleries.


A quick workflow with beautiful results, yes please!
Clichés aside, I experienced first-hand the ease of using CloudSpot’s image proofing platform. If you’re looking to streamline your workflow and send clients galleries that look and perform with ease, check out CloudSpot. And be sure to drop me a note in the comments if you have any questions about workflow!
All photos by Tarah Beaven
This is a sponsored post.


