
My absolute favorite type of light to explore and photograph is backlight. I’m all about the haze, flare and warm glow. I don’t necessarily think it is the easiest type of light use, but once you find what works for you backlit photos can really create a sense of magic and wonder.
I’m going to share my favorite five tips for using backlighting during photo sessions.

1. Filter the light.
Use background elements to help filter strong backlighting coming into your lens. I like to look for an area with trees, shrubs, or tall grass to help block some of the light that is coming from behind your subject.
This will also help prevent blown highlights and give you that glowy rim light. One great compositional tip is to look for background elements to help add depth and frame your subject while filtering that light.

2. Get proper exposure.
To get the correct exposure on my subject, I prefer to spot meter a darker or shadowed area on my subject’s face. Because backlighting is shooting with bright direct light in front of you, your meter will try to underexpose the image. I tend to bump up, or overexpose by a half or full stop of light.
Just be aware of any distracting blown highlights you may get from super strong backlighting. You want your backlit photos to have a glow but not a totally blown background.
3. Move around to get the right amount of light and haze.
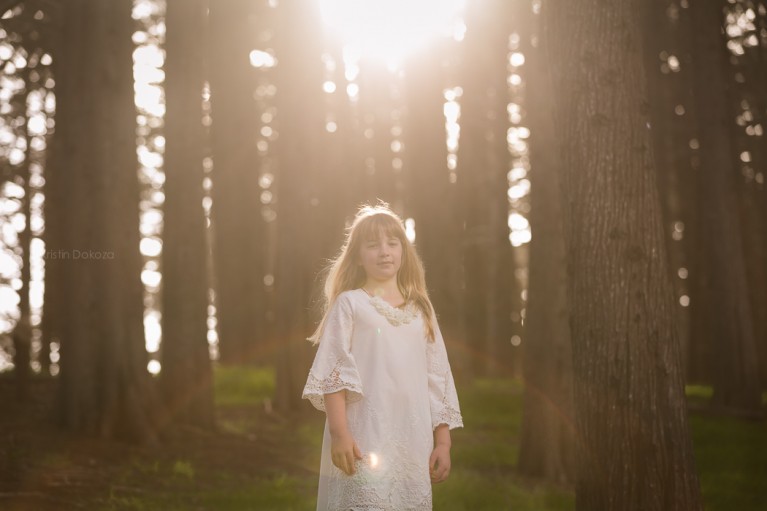
If you like haze, shoot for it. You can include the sun in your frame and capture dramatic haze and flare. Without moving your subject, either move in towards them or zoom in and eliminate that light.
Now you have two different looks from one click of the shutter to the next.
Here you can see lots of haze:
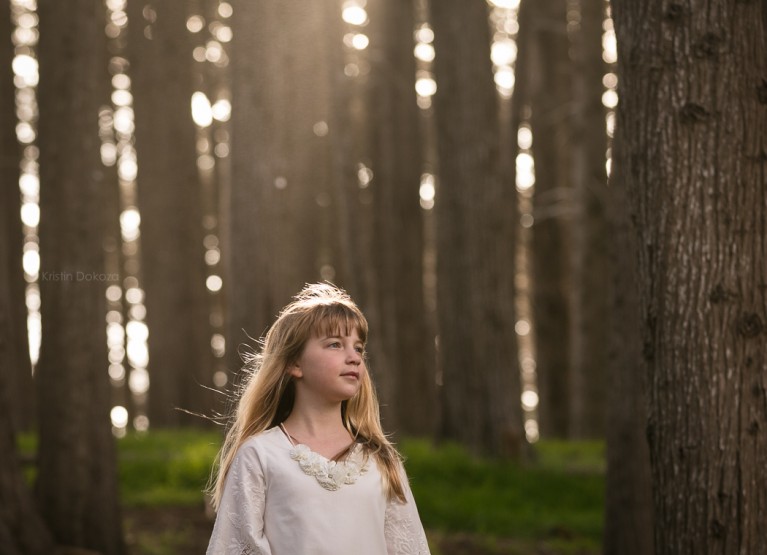
And then here I’ve moved slightly and eliminated most of the haze by not allowing the sun to shine directly into my lens.
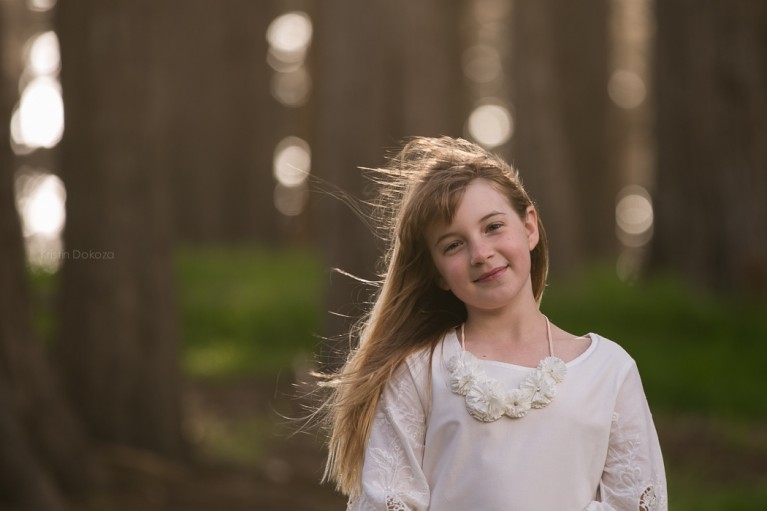
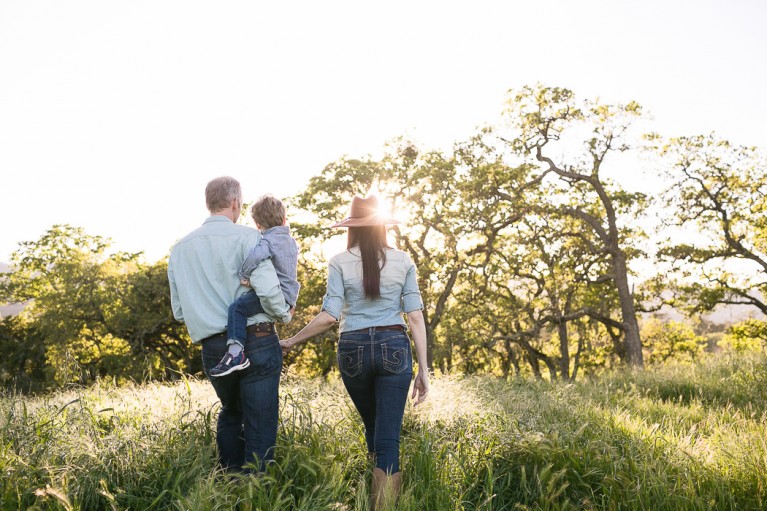
Here’s I’ve moved and zoomed in to eliminate the haze but still capture that beautiful rim light from the backlight behind the trees.
4. Block the light with your subject.
My favorite way to be creative with backlit photos is to place my subject directly in front of the sun. To gain proper exposure and focus on your subject, you will most likely blow out the background. This will give you a high key look.
Move around your subject and watch how the light changes the feel to your image. Maybe you want to completely block out that light. Or with slight movements to the side, up or down you can get a bit of flare.
Look for areas of contrast to help you nail the focus.
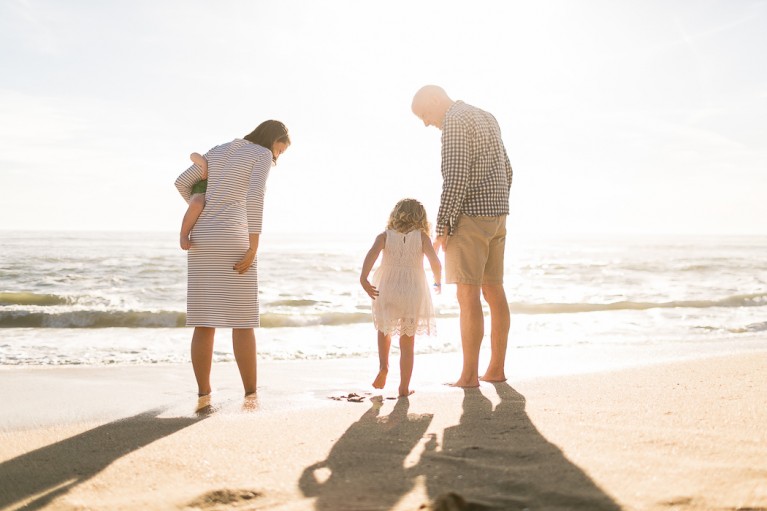
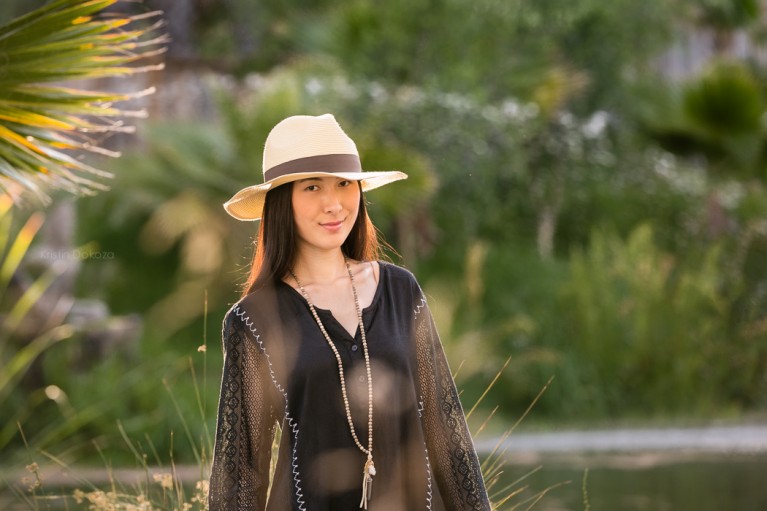
5. Reflect light onto your subject.
Be aware of what the light is doing behind you, too! If you do not shoot with a reflector to help bounce light back onto your subject, look for natural reflectors. These can be sidewalks, water, the surf at the beach, anything that is light in color. I’ve even used buildings to help bounce light back onto my subjects.
Another little trick is to wear white. You can be your own reflector!
If you are out in a big field of grass, look for areas that are not only going to be beautiful backgrounds for your subjects, but also areas where the space behind you is clear. If I stand deep in the shadows, then I know there will not be any light available to bounce back onto my subject. There is some play between where you want to position your subject in open shade and what the light is doing behind you.


Shooting in strong backlight takes practice. If you don’t have people to use as your subjects for backlit photos, plants or any other still life works too.
The tips I shared above work best when shooting in manual mode. I also shoot in RAW for the most flexibility in editing. Backlight is a creative use of light, so shooting RAW helps me bring back the highlights, add contrast, and check my white balance.
Most importantly, have fun! I get giddy with excitement when I capture that strong, beautiful backlight and create those magical backlit photos that seem to glow. Get creative and practice, practice, practice.
such a great, well articulated post! thank you, kristin! warmly, -melanie-
Thank you Melanie!