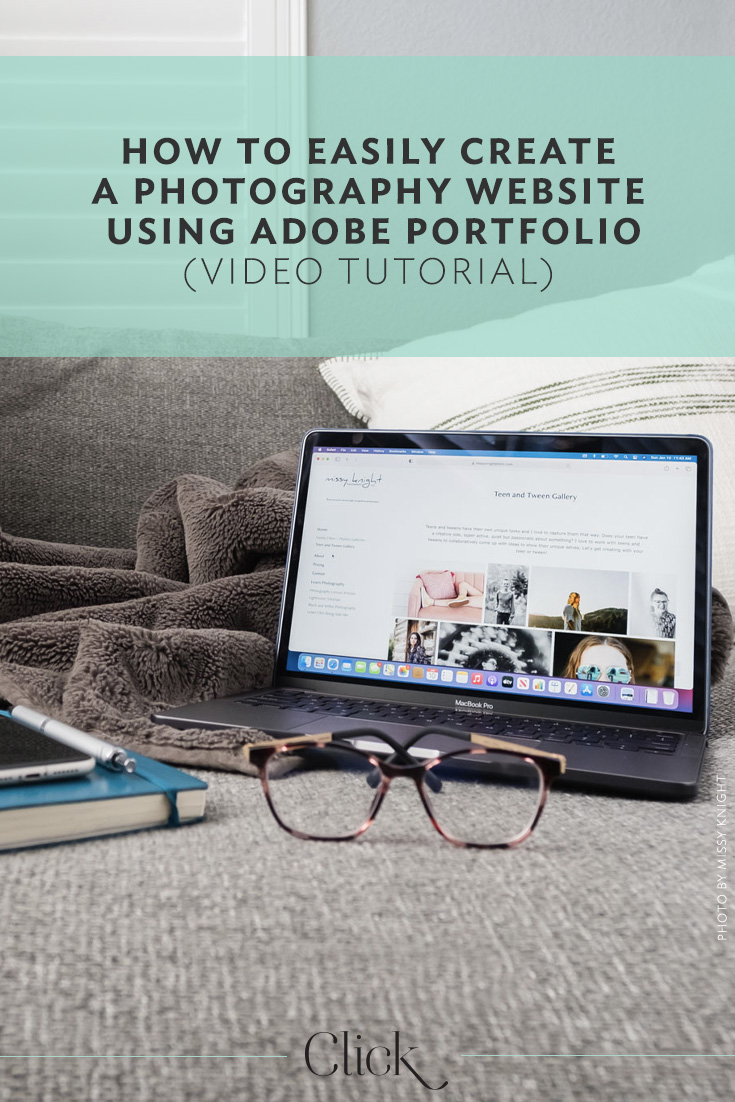
As a busy mom, wife, elementary school teacher and photography business owner, the idea of building a photography website myself was totally overwhelming. I didn’t have time to do it and didn’t want to pay someone big money to do it for me. I had no idea I was already paying for a service that could totally solve my problem. Yup. Once I found out about Adobe Portfolio (included with Adobe Creative Cloud photography plans) I was able to create my custom photography website in under an hour without paying extra.
I think this easy-to-use tool solves a big problem for a lot of photographers who may need or want a simple website without the costs and work associated with building one from scratch. So, today I’m sharing how I built my website and a few tips to get you started on yours.
Watch me create a photography website. (Video: 8 min)
Features to know about:
1. Use your own branding. Adobe Portfolio has tons of theme templates — from emotive and moody to bold and colorful — to get you started, and you can change your theme any time (even after your site is live). You can also upload your logo, customize colors and fonts and integrate your own branding.
2. Customize everything. Add action buttons, customized contact forms, photos, videos and more.
3. Use your own domain name. If you already have a domain name, Adobe has step-by-step instructions on how to use it for your Portfolio site. And if you don’t have your own domain, that’s fine too.
4. Integrate your website with Adobe Lightroom. If you have a Lightroom collection that is synced to Creative Cloud, you can easily upload it to your website in seconds to showcase your portfolio-worthy images.
5. Password protect pages. If you want some pages only visible to clients once they’ve hired you, such as welcome guides or other client information, you can easily set password protected pages as needed.
6. Works on all devices. For the best client viewing experience, Adobe Portfolio is optimized for desktop computers, laptops, iPads, smartphones, etc.
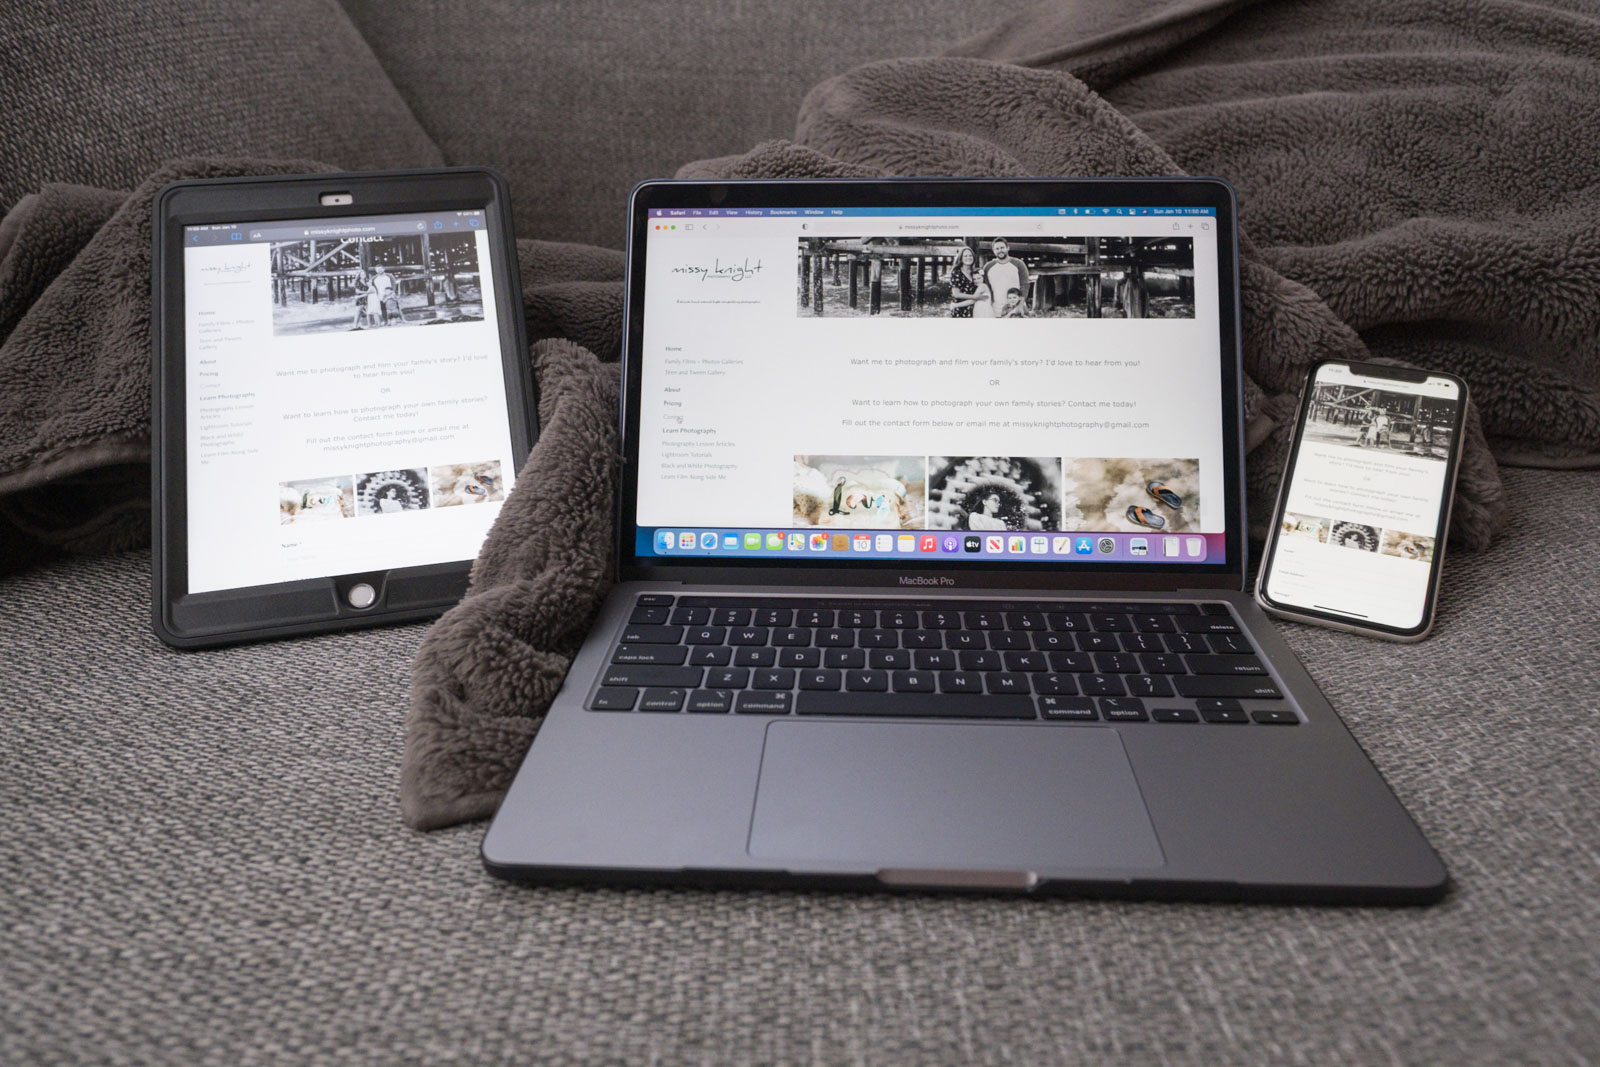
Get started in 6 easy steps:
I’d suggest watching a couple of tutorials or checking out Adobe’s how-to documents before beginning your photography website. After that, here are a few quick steps to get your site up and running.
1. Pick a theme. This might be the hardest part as Adobe makes it hard to choose with so many beautiful options!
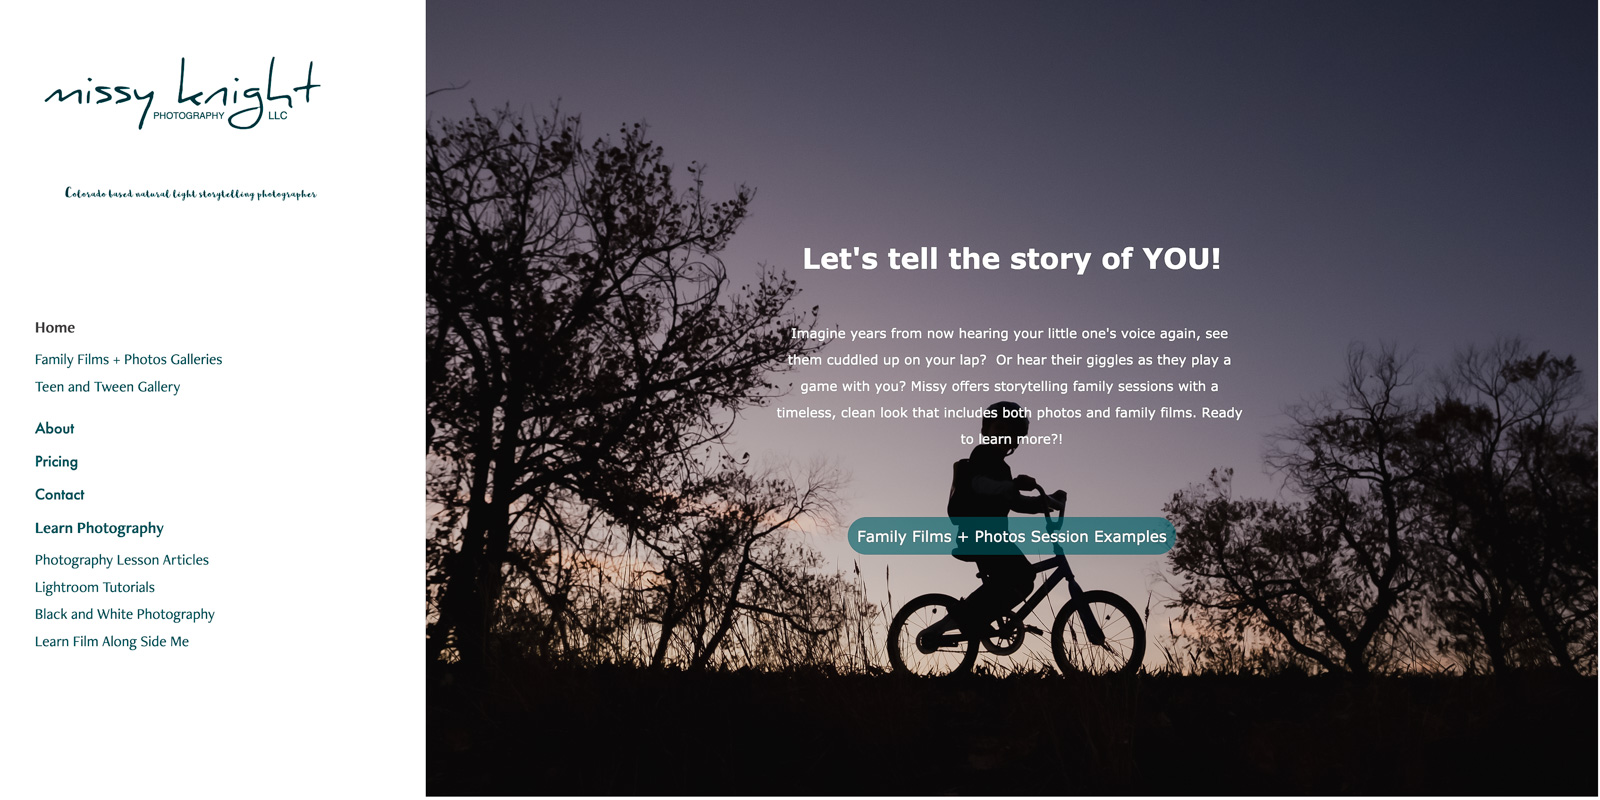
2. Choose site-wide customizations, like your font and color choices, that will appear throughout your website to represent your brand.
3. Upload your logo.
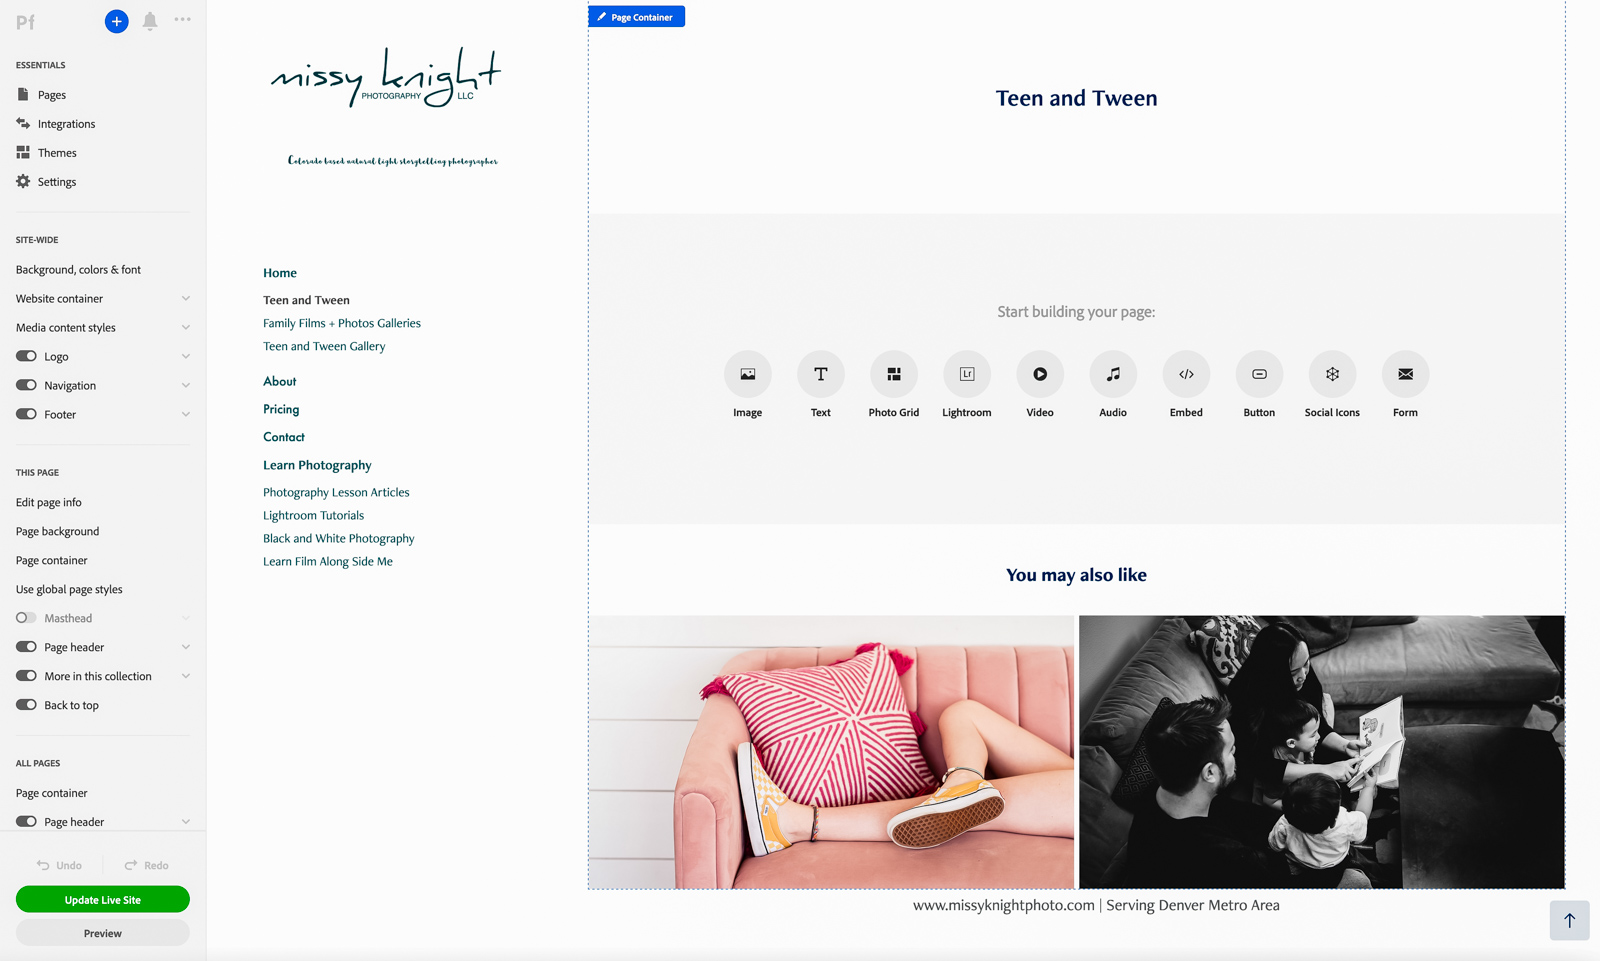
4. Add pages, such as about, pricing, galleries, etc.
5. Further customize each of the pages you create by adding header photos, buttons with links to help your potential clients navigate through your site with ease, videos and more.
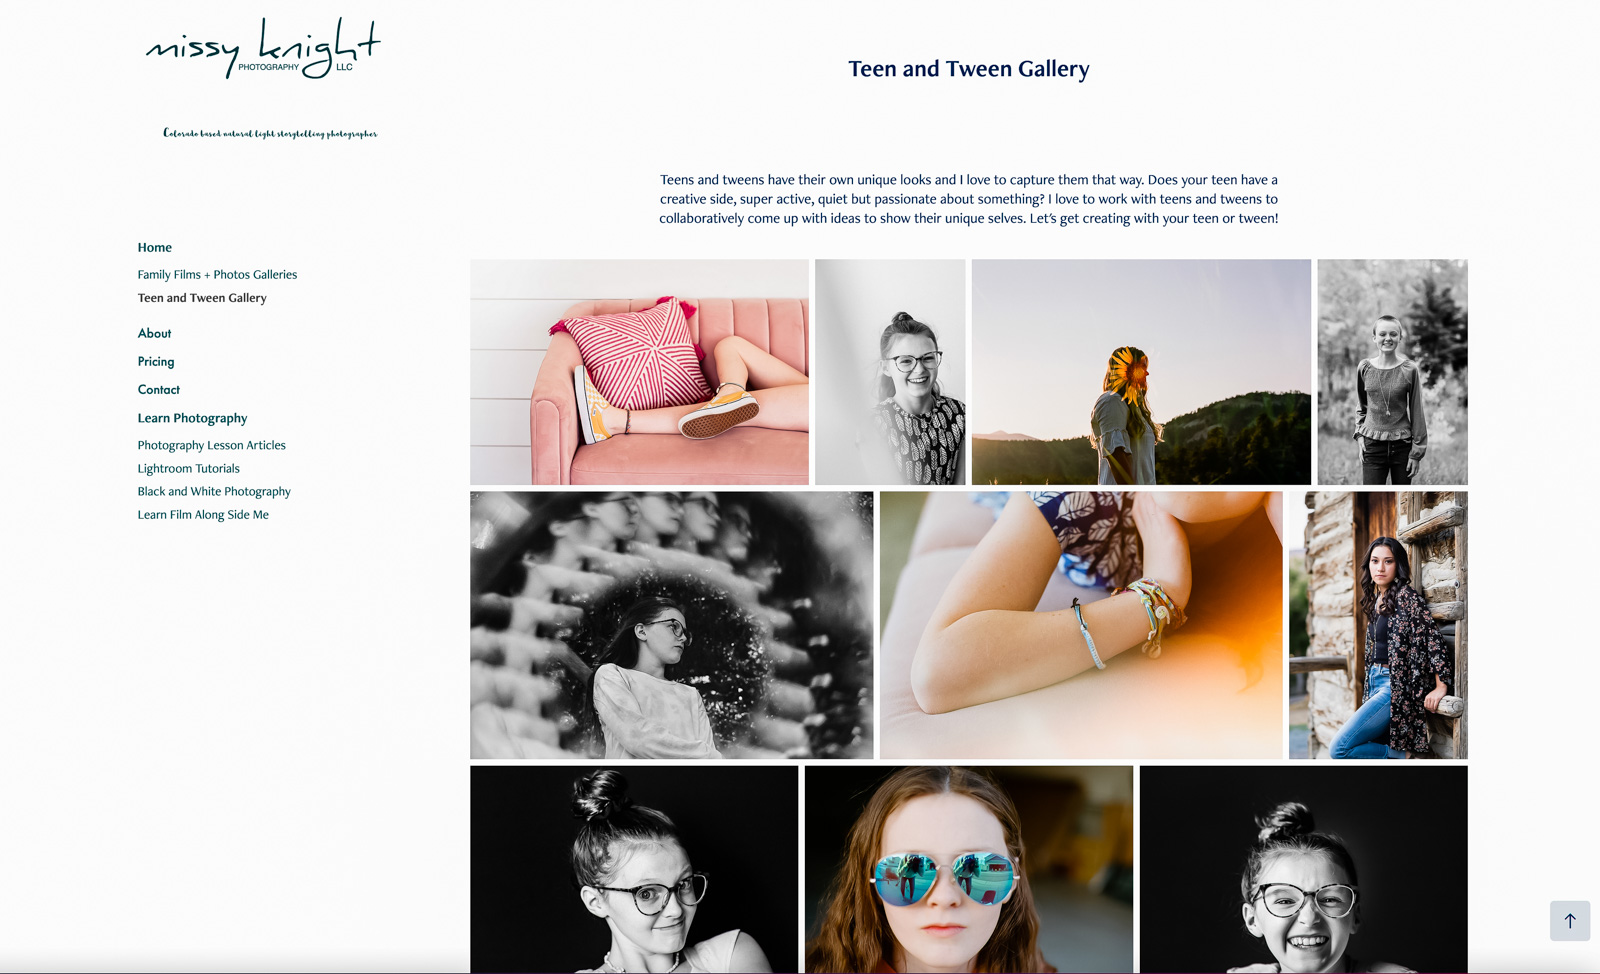
6. Connect your domain name and click publish.
Note: In the video above, I also show you how to update your site after it has been published.
Is Adobe Portfolio right for you?
Intrigued about using Adobe Portfolio but not quite sure? Here are my pros and cons about the platform.
Pros:
1. There’s no extra cost because you’re paying for it already if you have an Adobe Creative Cloud photography plan.
2. It’s super easy to use.
3. It integrates easily with Lightroom.
4. Adobe updates the platform based on user feedback.
Cons:
1. There’s no built-in blog or shopping cart features (however you can add links to outside sources).
2. You are limited to the templates available (there are tons to choose from, so it’s not an issue for me).
If you’re already an Adobe Creative Cloud photography plan subscriber, you might want to give Portfolio a try. For me, it’s a super easy, affordable option for building a professional-looking photography website. Watch the video above to see themes available, how I built my website, and how I update my website with new photos and information.
Leave me a comment if you have any questions!
Photos by Missy Knight



Holy Moly!! In the first 5 sentences I learned something!!! I have been paying for Creative Cloud for years AS WELL AS my website company. Cannot wait to delve deep into this article and video for all the great information and get to work! I can’t wait to see how I can make it work for me. Thank you so much !!
I am so glad you found this helpful! I know exactly what you mean and felt like the perfect fit for me and my business needs. If you decide it works for you too and have any questions please ask, I’ll see how I can help.